Who We Are
What We Did
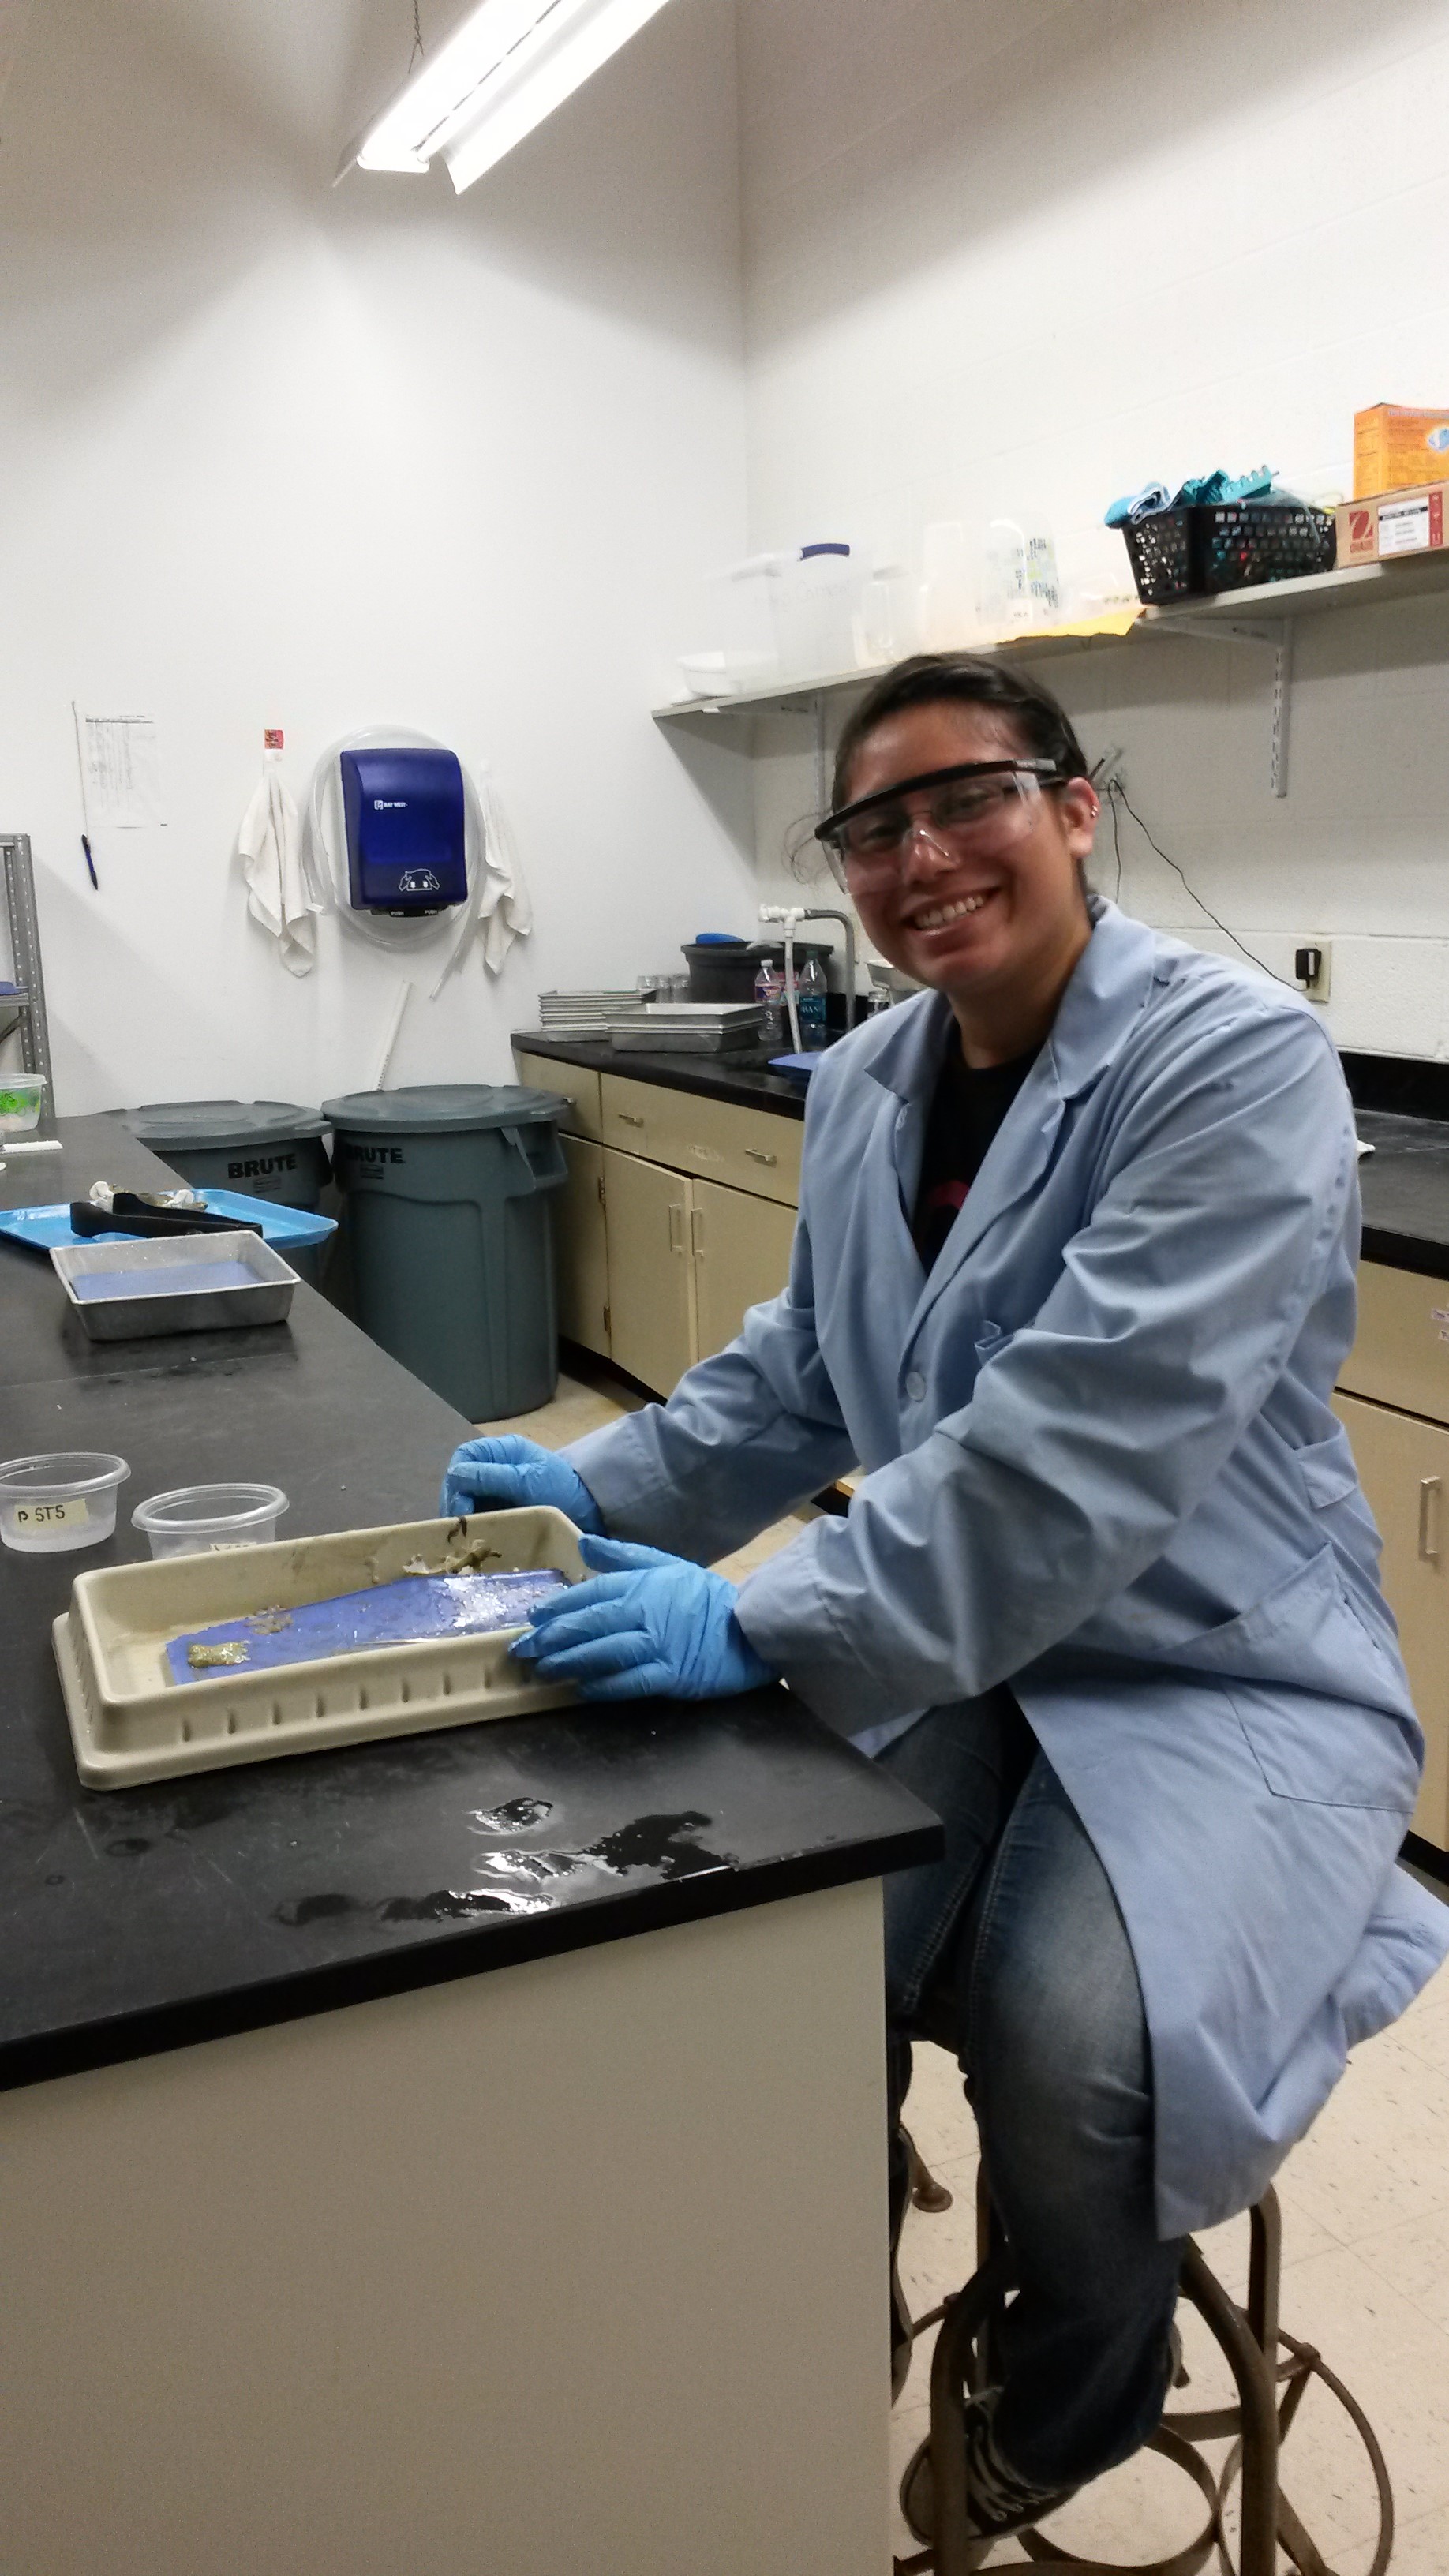
Kaitlyn taught me and a few other people the proper procedure for dissecting male, blue crabs to collect tissues samples of their gills and heptopancreas so we would know what to do on future experiment days. I want to give everyone an idea of what we did, but this process was more detailed and complex than I will have described.
Here is a picture of the basic anatomy of a crab (we did not use any females for any of the dissections). You can see the gills on this illustration:

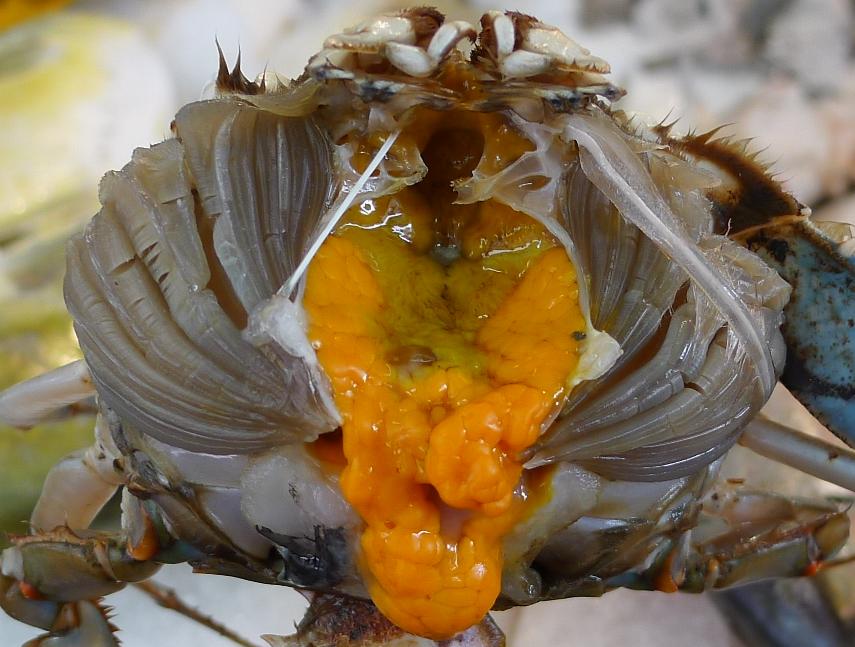
Here is a picture of what the heptopancreas and gills actually look like. The heptopancreas is bright orange or green probably depending on how it was prepared (ours was green). This makes the tissue samples really easy to locate:
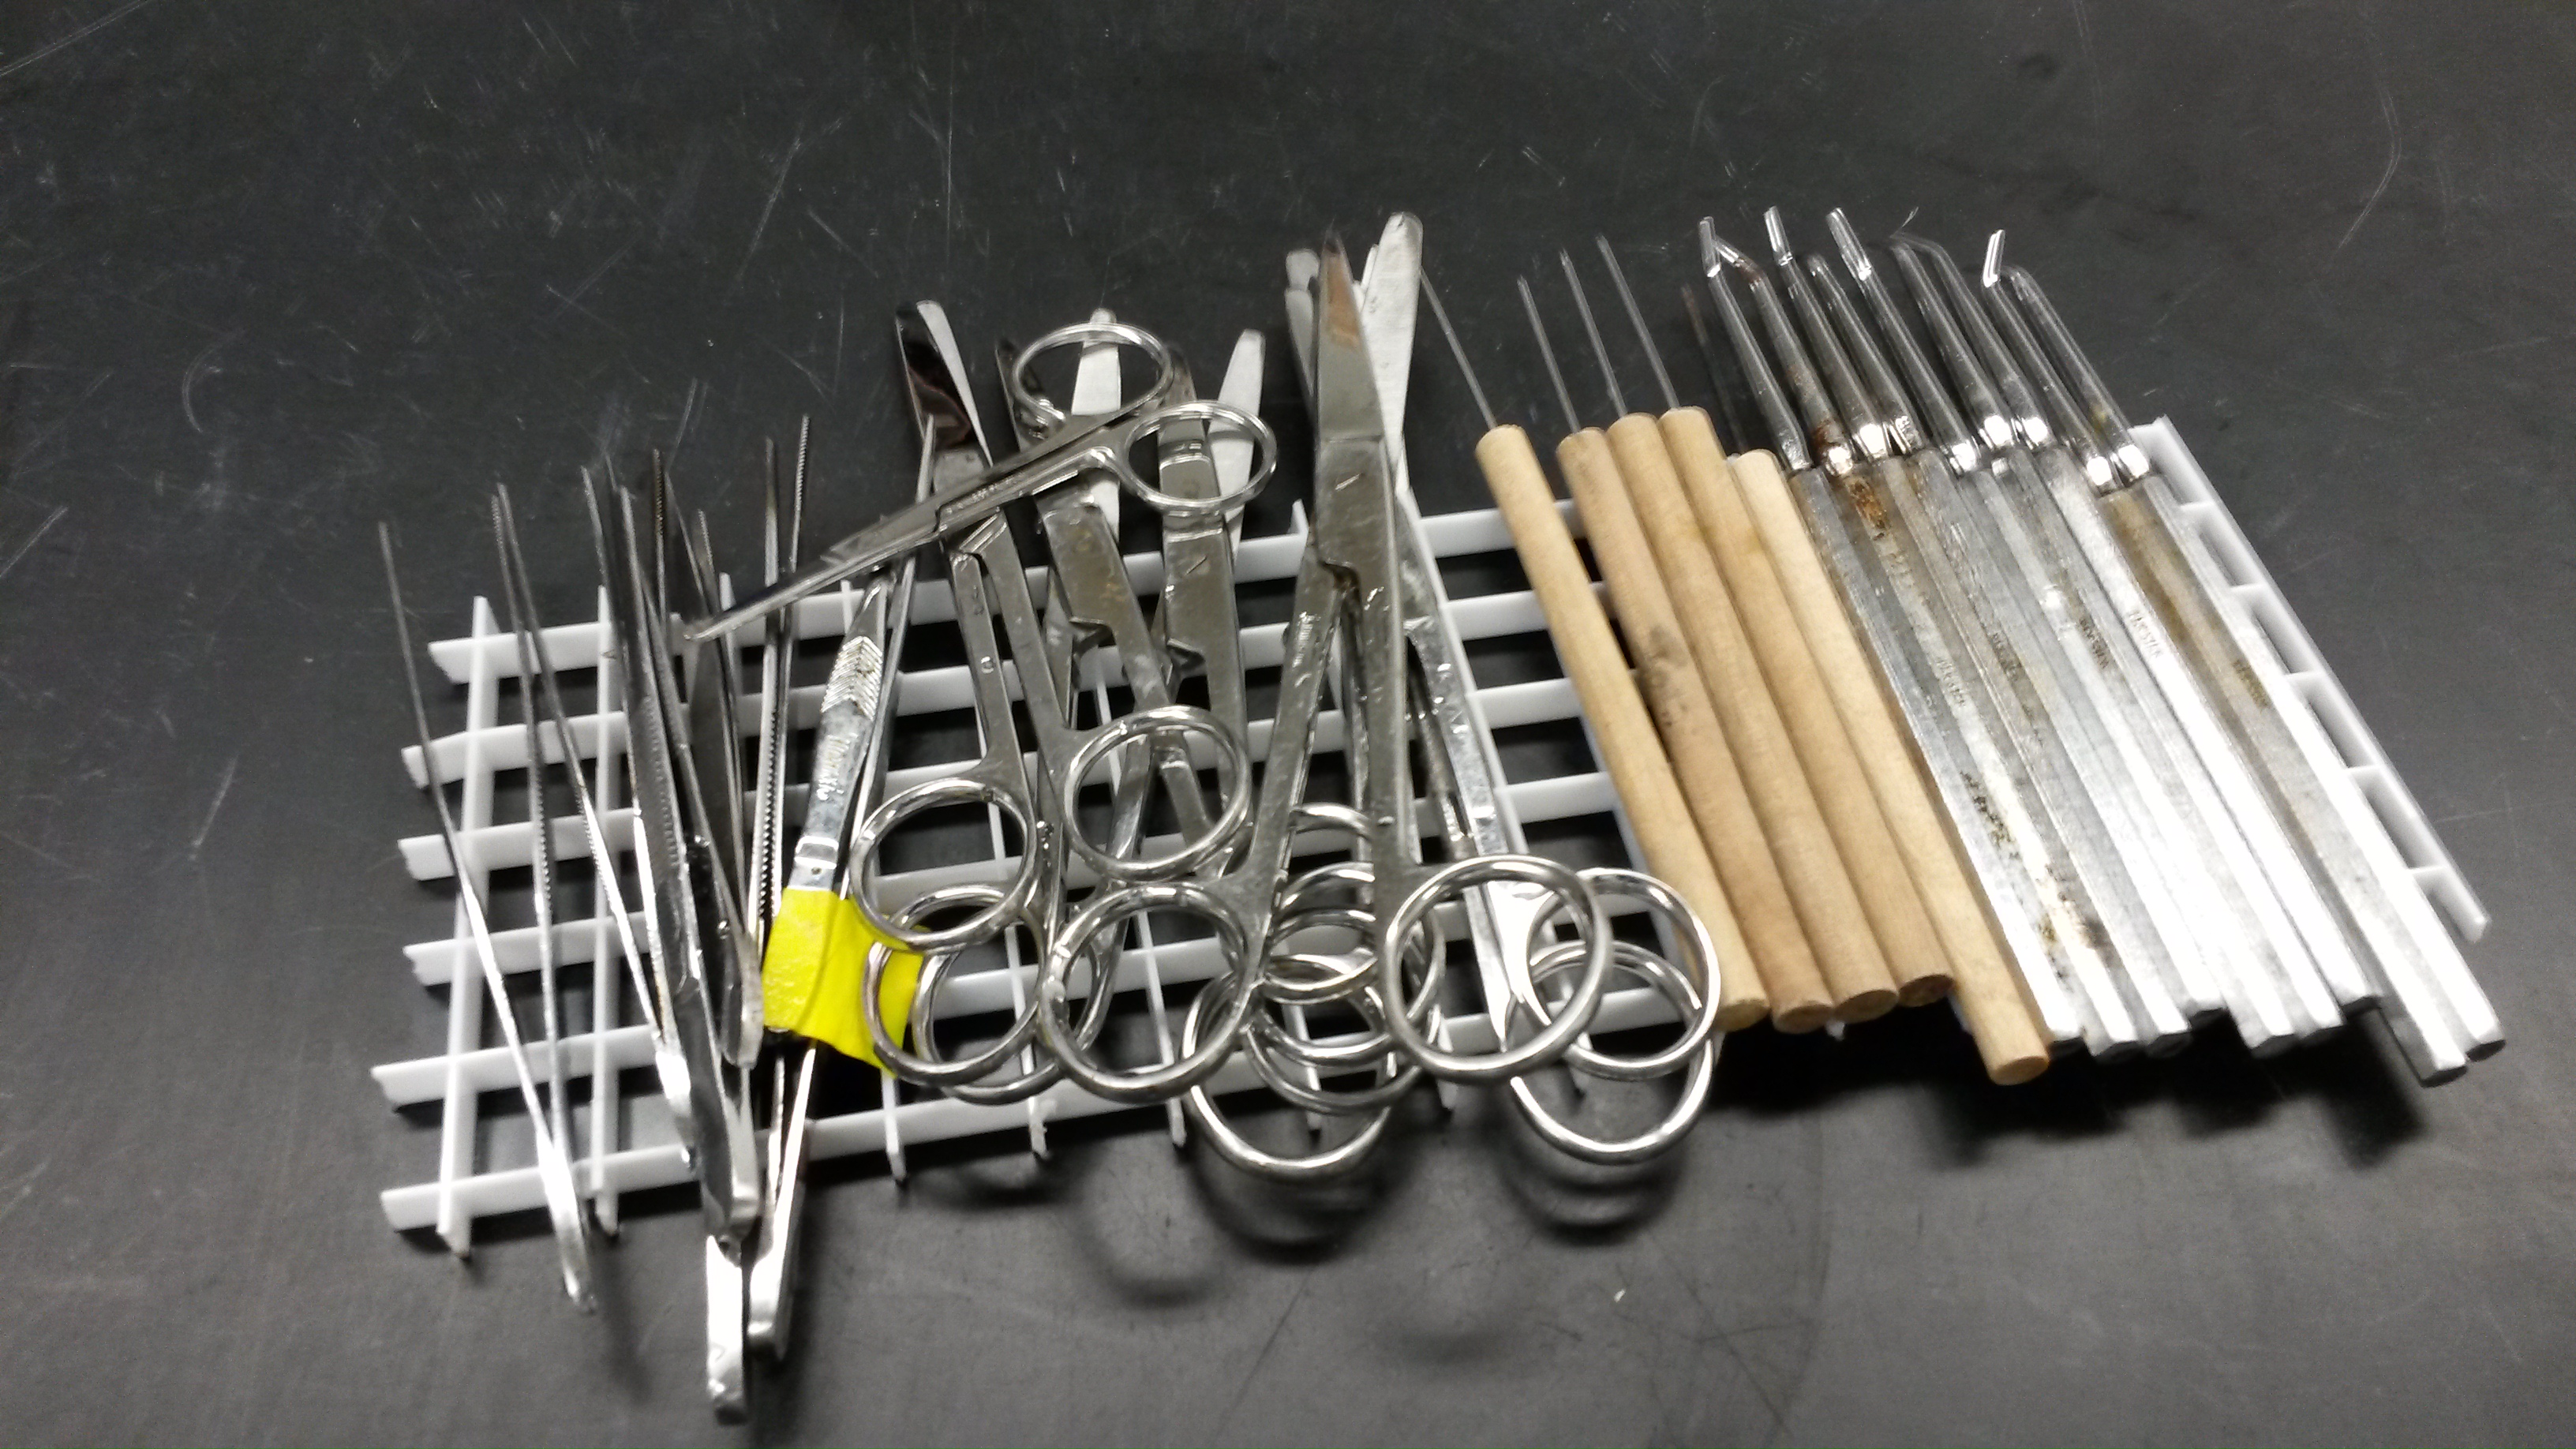
These are all the tools we used: tweezers, scissors, scalpel, probe and blunted probe (Kaitlyn called it the hockey stick)
The first thing Kaitlyn taught us was lab safety, especially when handling the nitroglycerin we were going to use to kill and prepare the crabs for dissection. She explained how to properly use it, store it, the proper attire for handling it and what to do if it ever tipped over or spilled. Nitroglycerin is a good choice because it is a fast process (maybe 15 seconds of actual immersion) and painless for the crabs (they die instantly) once exposed and immersed in it.
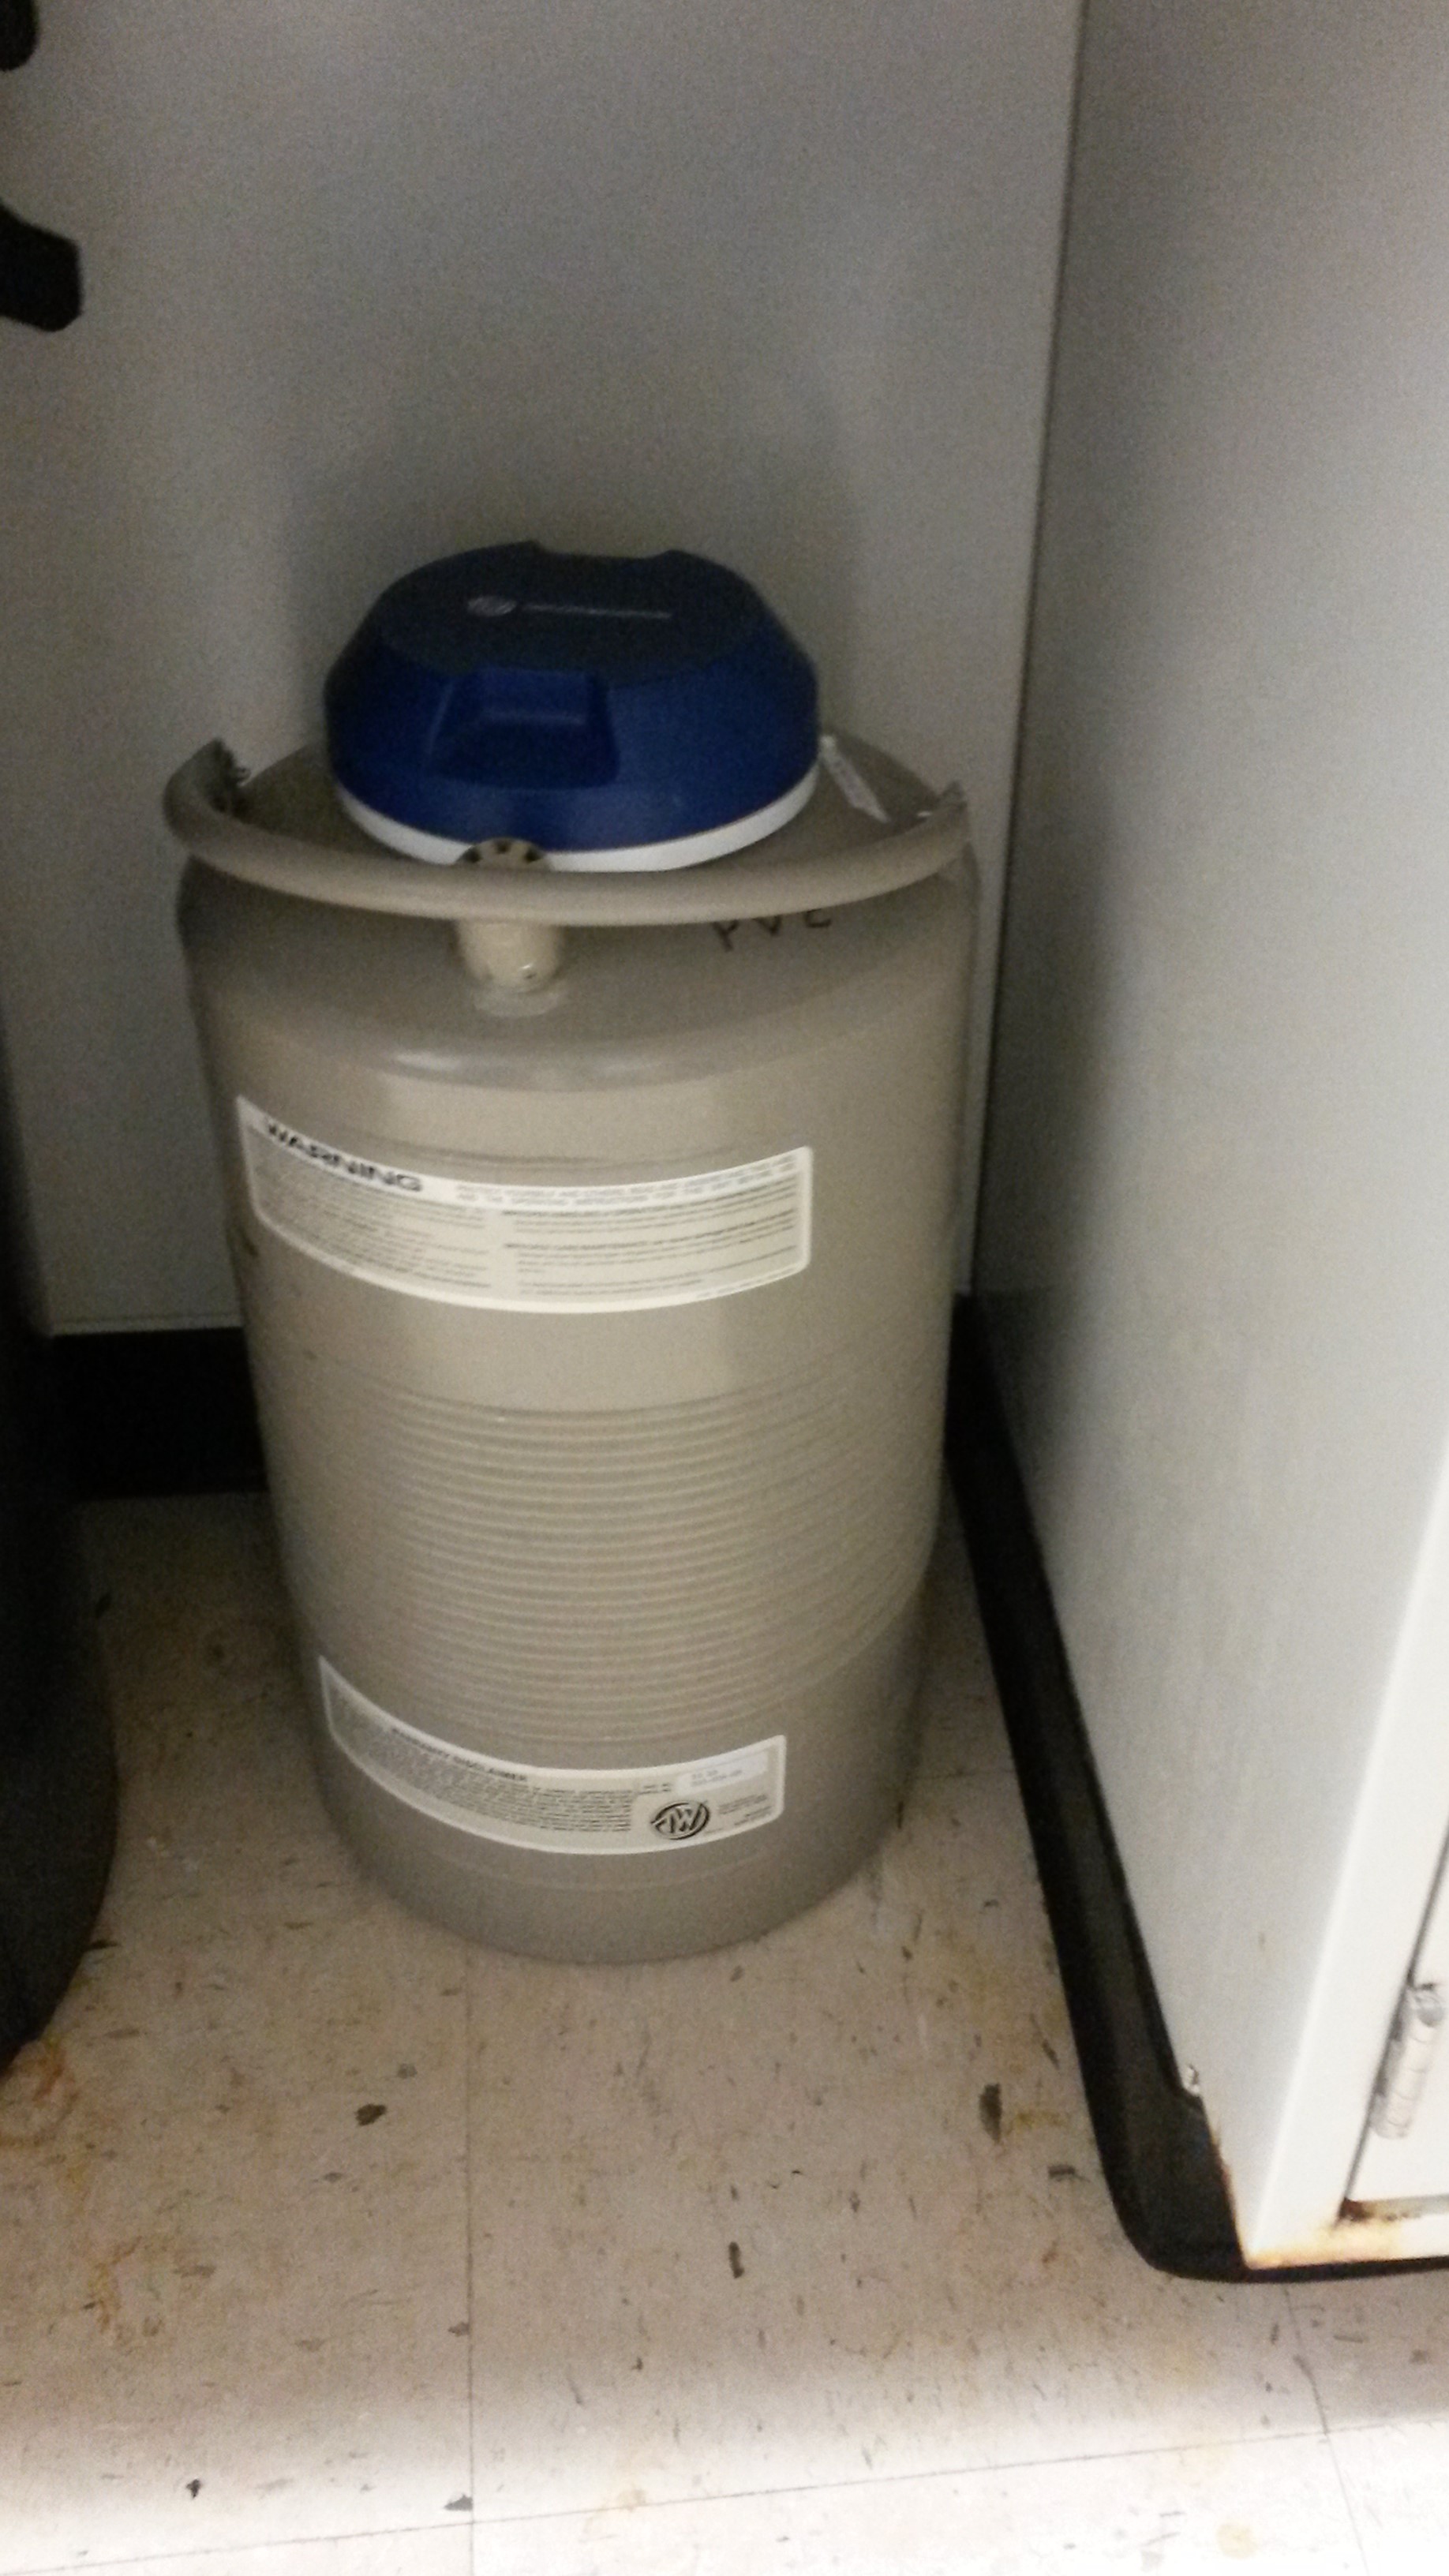
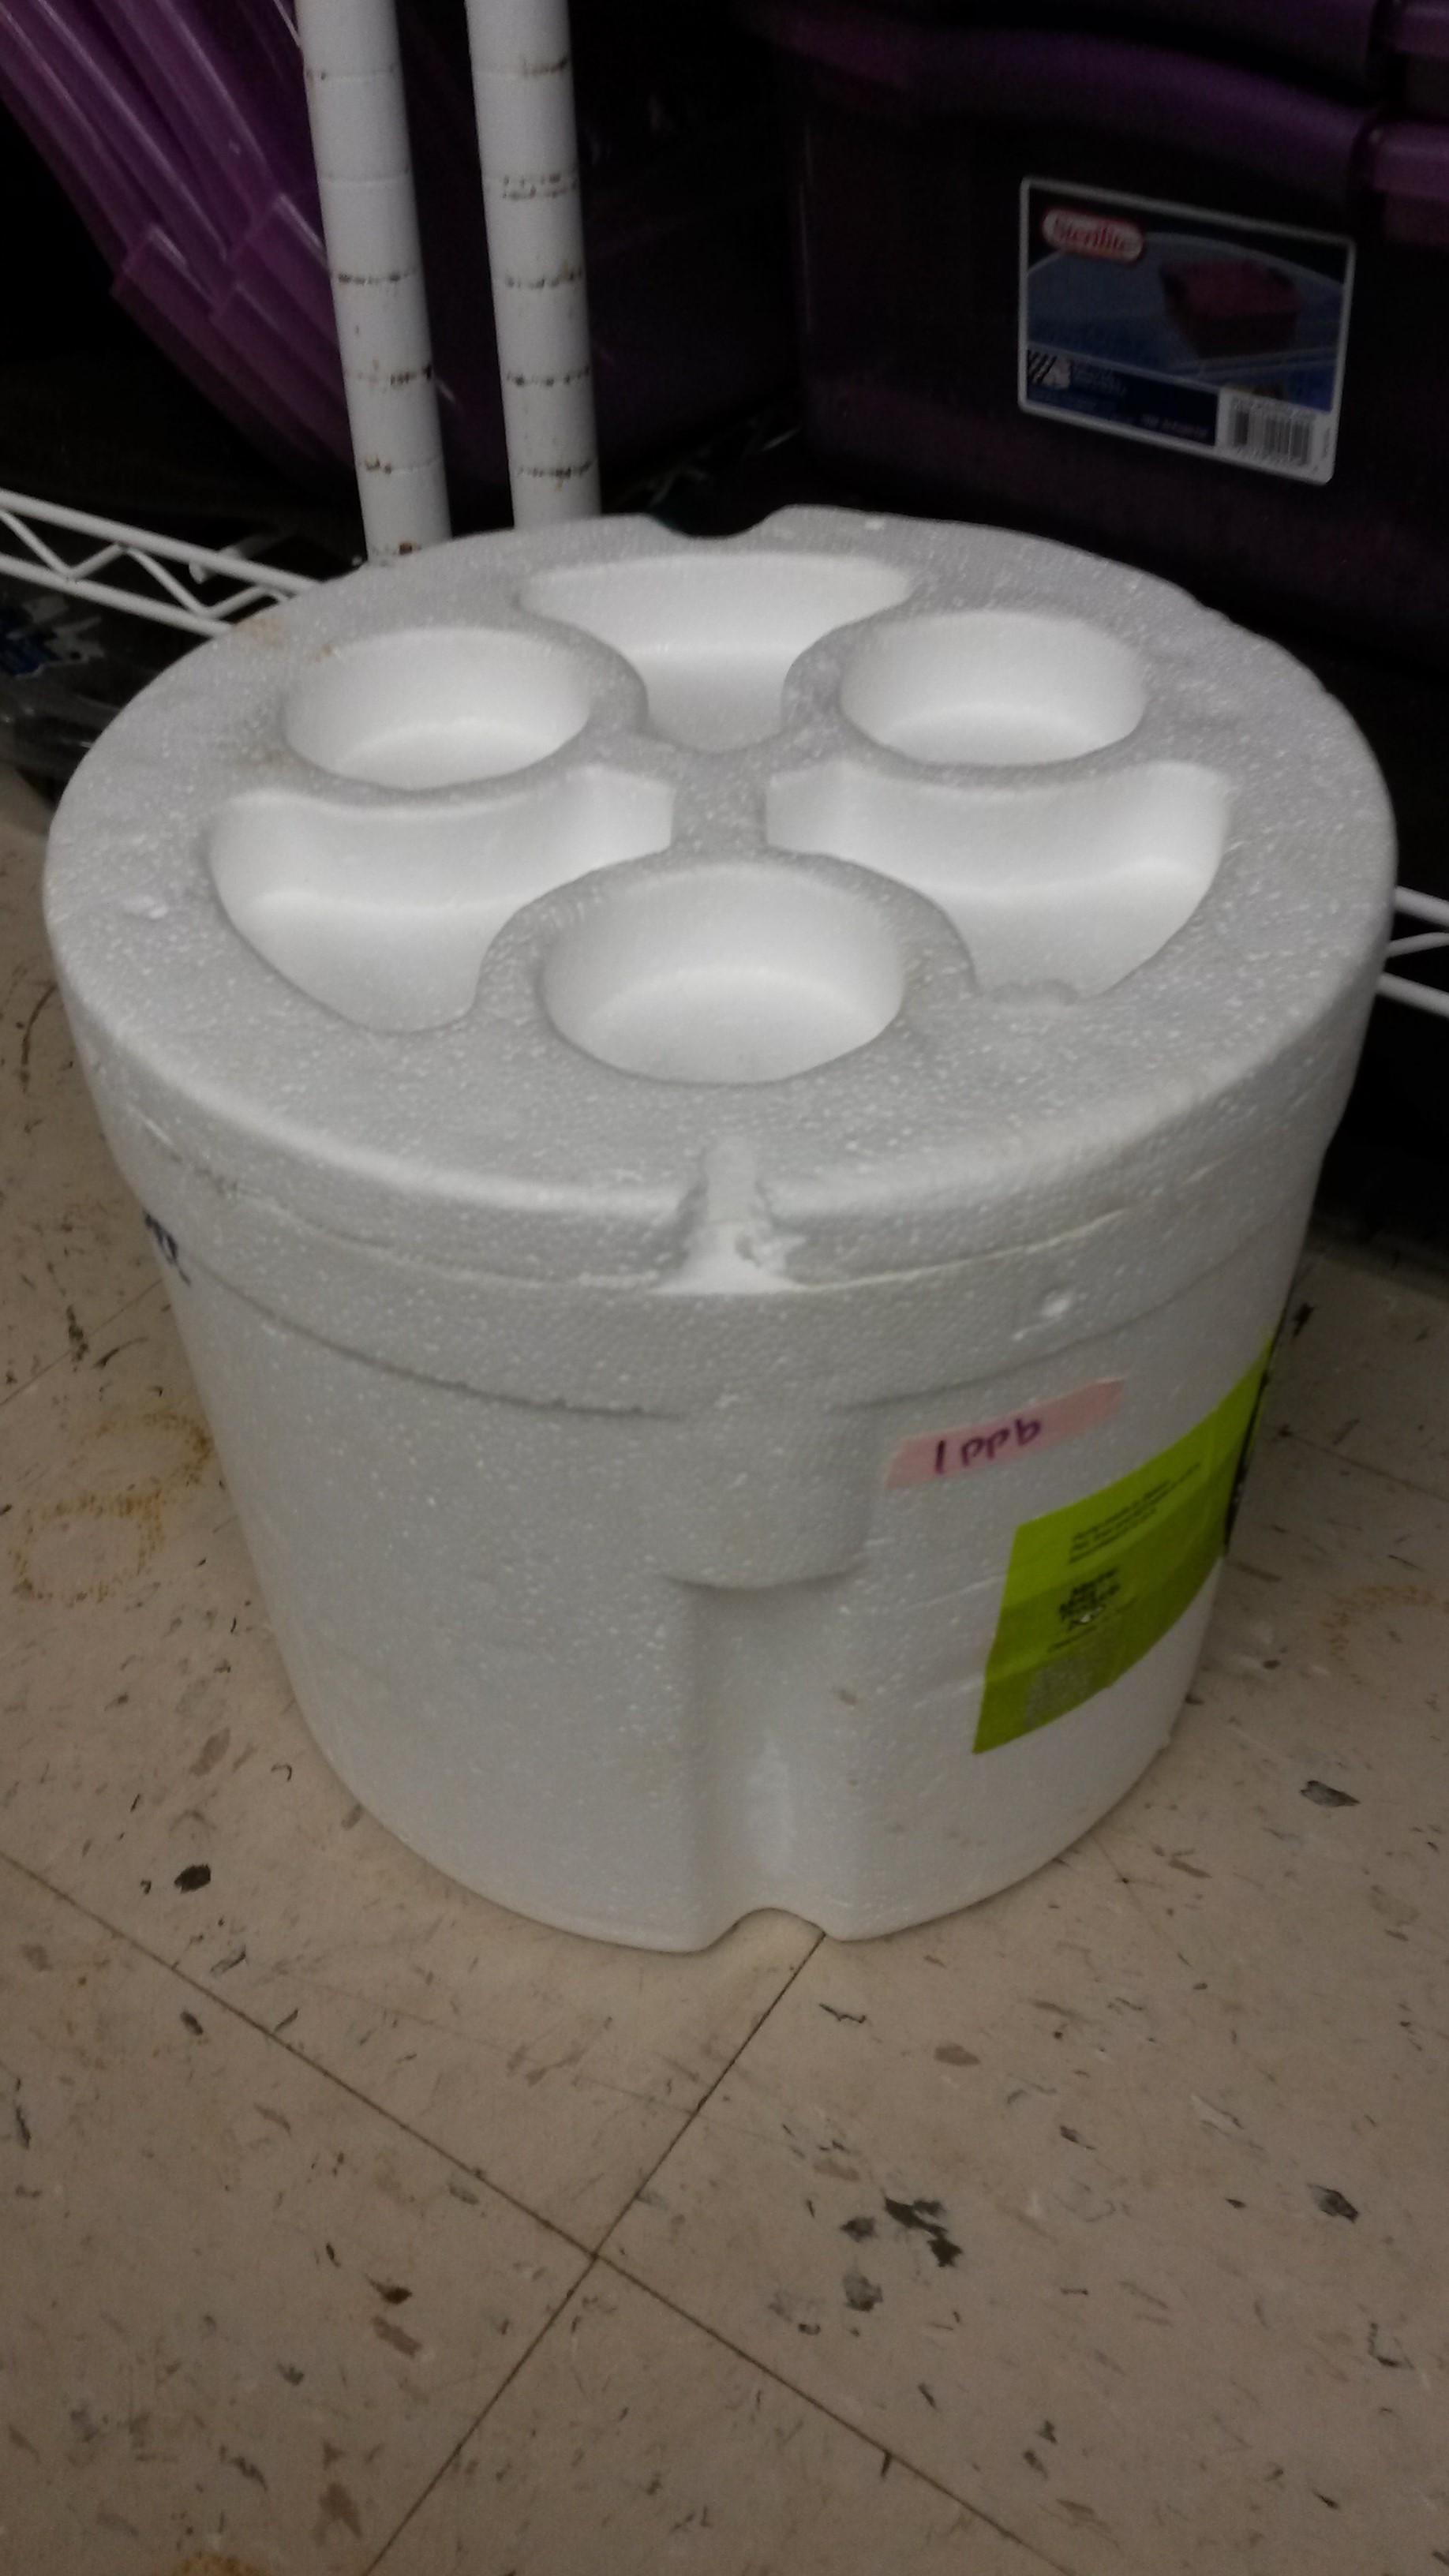
Here is the container we immerse the crabs in.
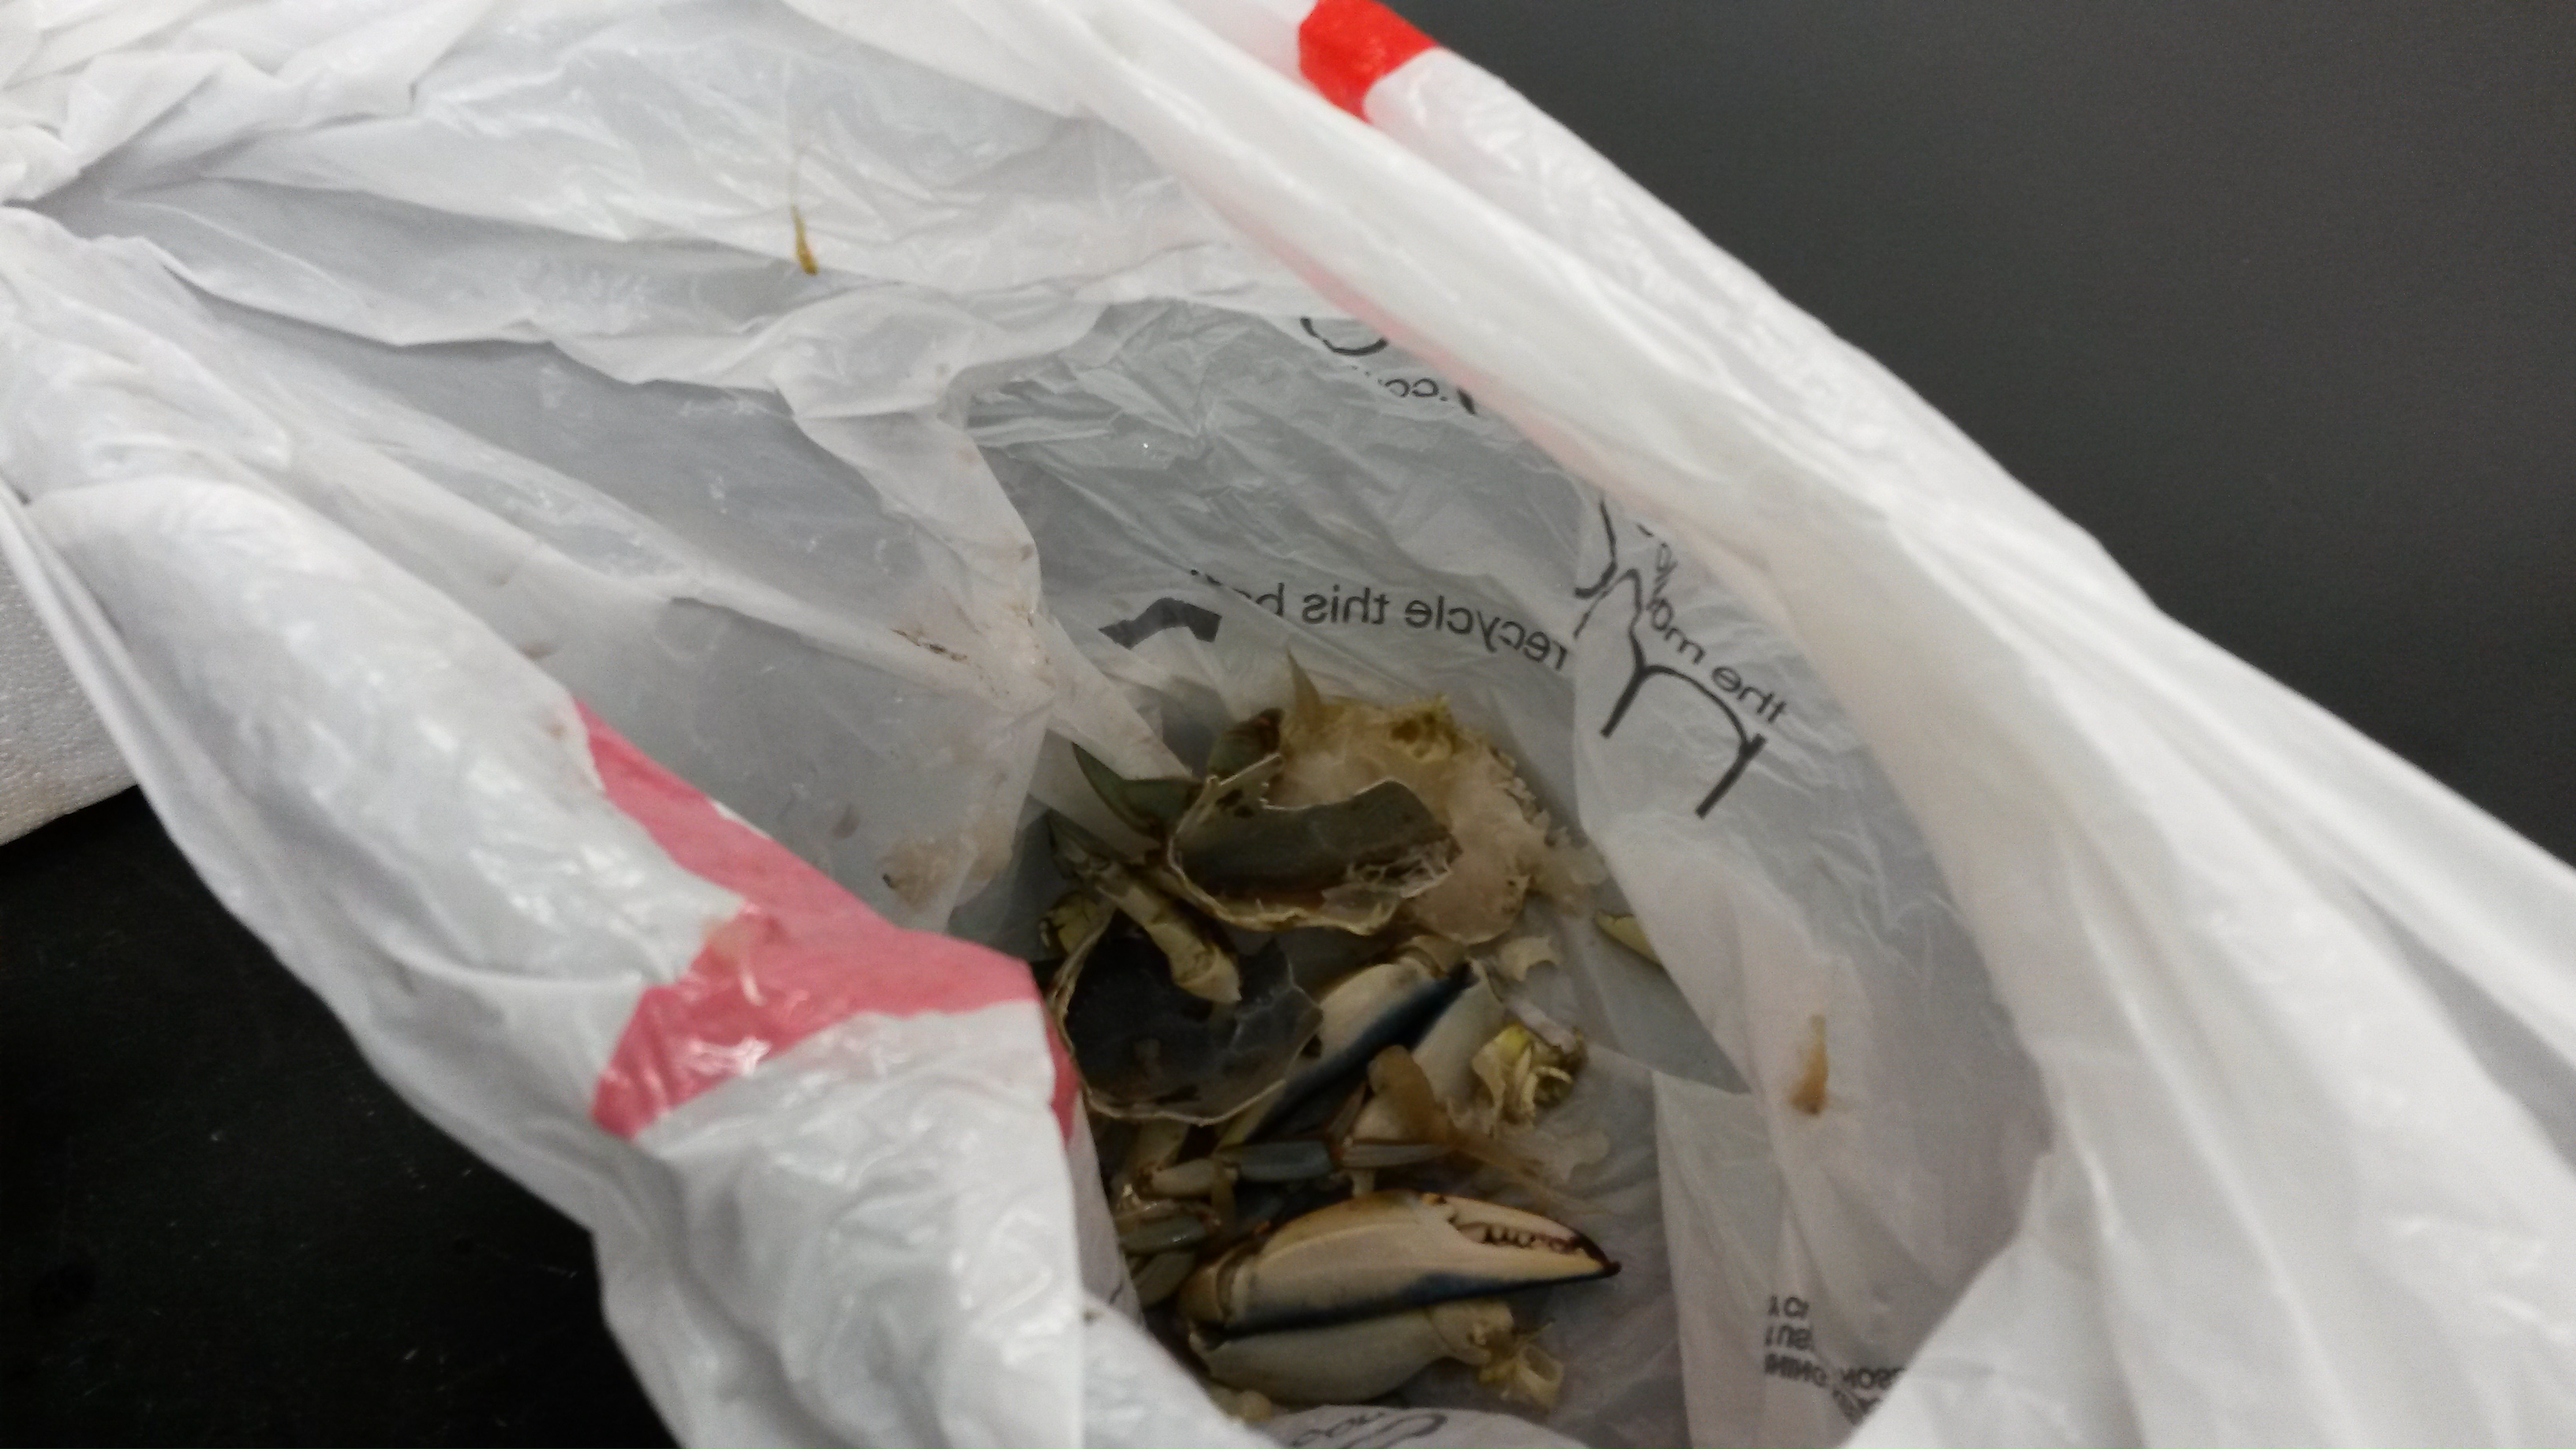
After Kaitlyn immersed the crab in the nitroglycerin, she put it on a tray for us to put on the dissection tray and mat and instructed us on how to begin. *In an actual experiment we would weight them first.* We scraped off any excess ice and Kaitlyn recommended cutting the sharp tips off of the sides of the crab so we wouldn’t cut our gloves. Then we broke off all the crab’s legs and disposed of them in the designated trash bin since we weren’t collecting any samples from them. The difficult part with the legs is sometimes the socket doesn’t come out so you have to dig it out with another tool.
Second, we worked on getting into the crab to collect the tissues. We started by turning the crab to the back and cut along the line that helps connect the two halves of the carapace together (I call it the hinge) and follow the line of the carapace and cut above the leg sockets on each side. It’s important to be careful to not cut too deeply so you don’t damage tissue.
Once we pulled the halves apart, we set one half (carapace-side down) aside on ice. *It’s extremely important to put all samples of actual tissue, in tubes on ice or parts of the crab you aren’t working on yet, on ice to keep it chilled.* We started with the top half of the carapace (usually this half has the gills but the two halves won’t always break apart that nicely) to collect the gills because they are easiest to cut out and get to.
*In an actual experiment we would put them in labeled tubes on ice, like the ones in this picture.

*In actual experiment we would now change gloves and equipment so there isn’t cross contamination between tissue samples*
After we got our samples, we began collecting the heptopancreas for the third part of this process. Sometimes it’s easier to start with the half that had the gills since all the unwanted crab parts have already been pulled out and any heptopancreas tissue parts in this half are a lot smaller and easier to grab.
Kaitlyn showed us how to use the tweezers and gently pull the tissue to separate it from the carapace. Sometimes it comes out really easily and other times you have to spend some time teasing it out and follow the direction the tissue seems to be coming out.
After collecting the tissue from the top half of the carapace, we began examining the sample for any lingering connective tissue or anything that wasn’t a part of the heptopancreas. It’s important to be thorough and remove them from the gland so it won’t interfere with later analysis. This part was the most time consuming because you have to use the blunted probe to gently hold the heptopancreas with one hand, and with the other hand, use a scalpel to cut and scrape away anything that wasn’t a part of the gland.
Once we Kaitlyn’s approval, we put that tissue sample aside and started the same process for the bottom half of the carapace. Sometimes it’s easier to break the bottom half of the carapace into two pieces, because the gland is very large and you don’t want the pieces that you aren’t working with sitting out and getting gloppy.
*In a real experiment the heptopancreas tissue samples would go in labeled designated tubes on ice, just like the gills
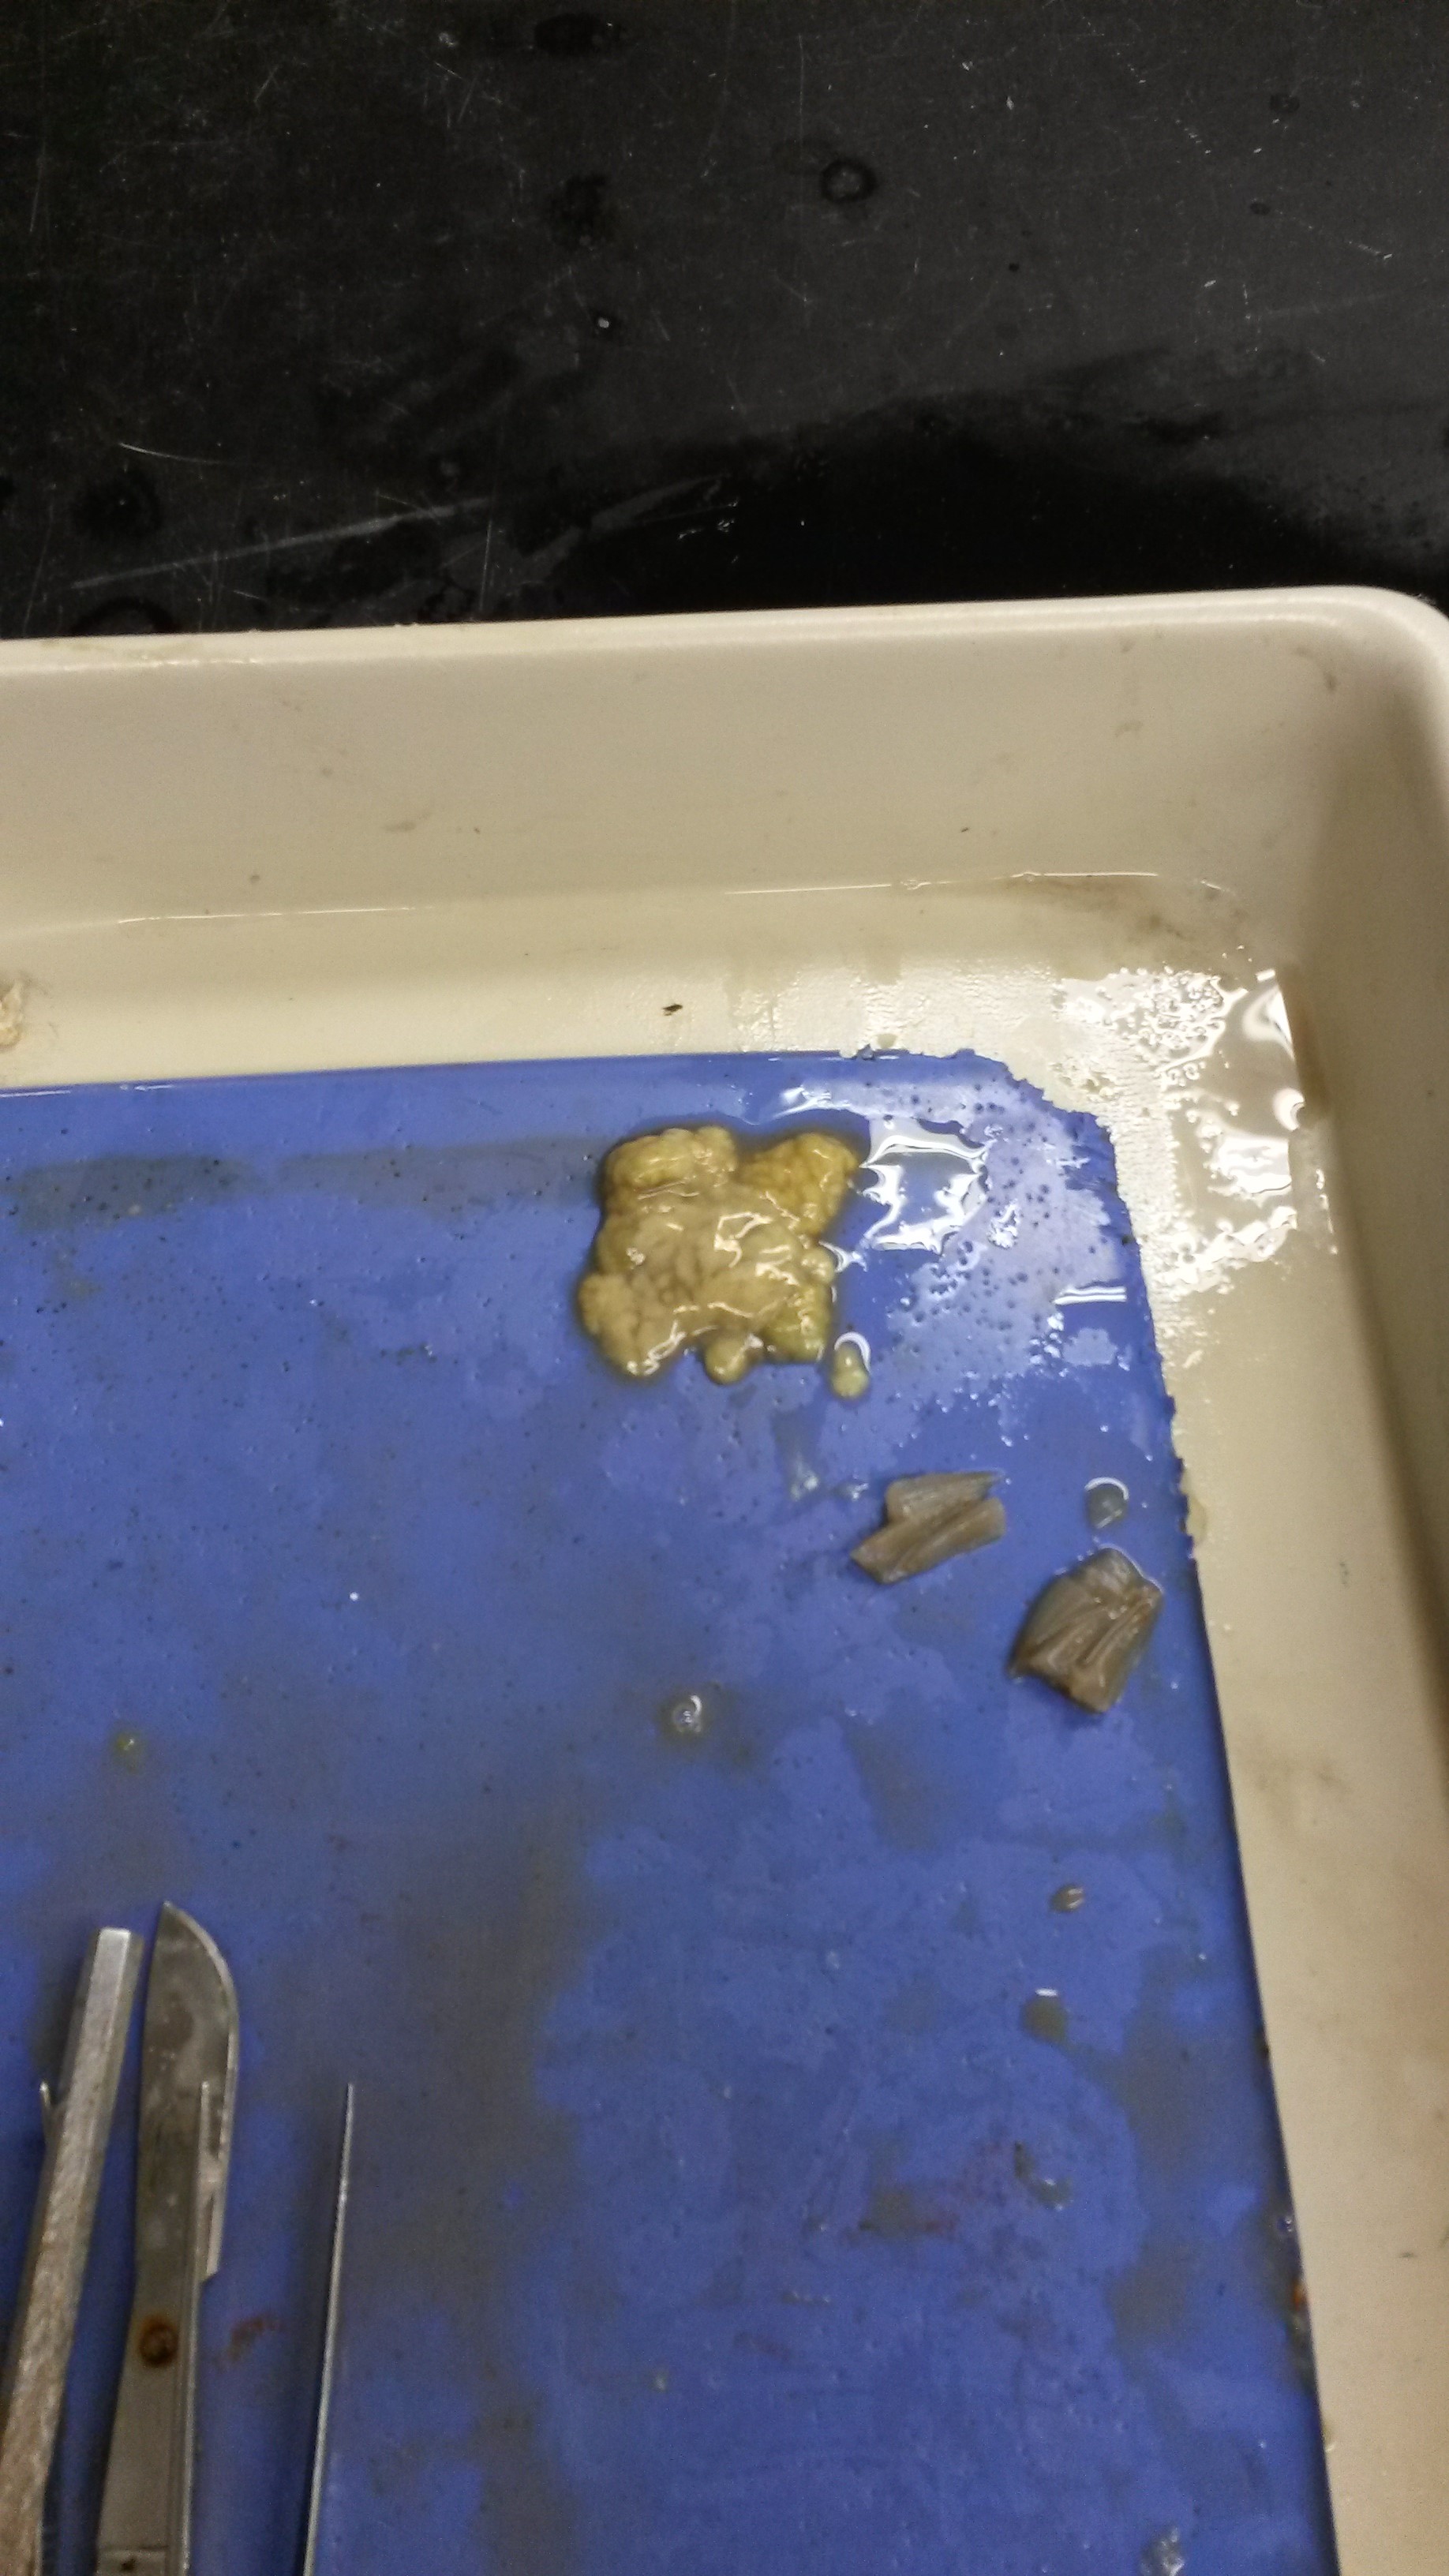
Here is a picture of what the tissue samples that we were taking out looked like. The heptopancreas is at the top, and the gills are darker and below it.
The fourth part of this process was cleaning up. Every tool we used needed to be cleaned several times with a solution of soapy water, rinsed with DI water and sprayed with ethanol. All the unused ice needed to be dumped out, the trash taken out and put into designated bins for animal waste. All the trays needs to be thoroughly cleaned, the counters sanitized and wiped off, the nitroglycerin put away, the floor mopped up if necessary, and all tools needed to be put back to their designated place in the lab.
Even though it was a lot of hard work, I really enjoyed this experience because it gave me a chance to be a part of real research and learn about the realities of the work researchers have to do.
What We Learned
I learned several things by participating in this dissection practice.
The first is it’s crucial to make sure everyone in the lab knows, understands and follows lab safety rules. We are dealing with real samples, lives organisms and sometimes dangerous substances or chemicals. The instruments we use could hurt someone and every rule must be followed to keep everyone safe.
The second is how much attention to detail is required for some aspects of experiments. A lot of concentration and focus is required for some of these tasks, like removing tissue that isn’t part of the heptopancreas. In any experiment there are lots of tasks that require careful and intentional movements. It’s important to take this seriously and do you best to produce the desired results.
The third thing I learned is it helps to explain the important of all the processes you’ll be doing to whomever you’re teaching. Kaitlyn did a great job explaining to us why we do things a certain way and how it impacts research further down the road. It also helped motivate us because we knew that what we were doing was important and that the quality of our work directly impacted what happened later.
The fourth thing I gained is a more realistic perspective of what it means to be a scientist and the type of work they engage in. Some tasks are time consuming and it takes a lot of hard work to do research. A lot of factors need to be considered and planned out. While some of these things aren’t fun to do for hours, one can still find positives in every task. There is always something new to be learned or things that can really drive your curiosity and make you ask more questions about the world around you.
Questions We Have
I would like to know more about the other instruments that are commonly used for lab work and what they do.
I would also like to know more about how the tissue samples are analyzed and broken down.
Another question I have is how many people usually work on a research project together and how the work is structured and divided up.
I would also like to know what types of lab jobs can be done in the field and what types of things have to be shipped off to be done in a regular lab.
Connections to Teaching
One lesson I can draw from this is lab safety and behavior in the labs. Some of the instruments, like the scalpel, are very sharp and students need to know how to properly handle them so don’t injure themselves or someone else. The lab isn’t a place for horse play either and students need clear guidelines on that.
Another lesson I could draw from this is the scientific method. I could use this experience to help it become more accessible to students so they understand concepts like the control, dependent and independent variable better. I could use examples from this experience to teach students the types of factors scientists have to control and think about to preserve the reliability of their data.
Another lesson I could draw from this is to teach students what being a scientist means and give them a more realistic idea of the type of work a scientist does. Some of these jobs take a long time and require a lot of hard work. A lot of things like tv shows and other media give inaccurate pictures of the amount of work that really goes into experiments and lab work. I think it’s important for students to understand the difference, especially if older students are interested in pursuing a degree in science.